| Most viewed - Zelda FaNaTiKaH |
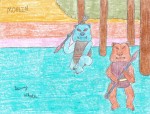
LoZ1--Moblins.jpgLoZ1 Moblins489 viewsThe bulldogs of doom, the Moblins, from Zelda 1.
Used the sprites as reference this time (as opposed to the manual art--he looked a bit robotic in the artwork), and drew two since there were two colors.DBoyWheeler
|
|
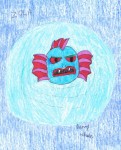
LoZ1--Zola.jpgLoZ1 Zola489 viewsThe darn Zola from Zelda 1. The manual art was used as a reference for this.DBoyWheeler
|
|
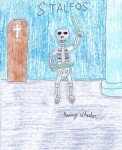
LoZ1--Stalfos.jpgLoZ1 Stalfos488 viewsYeah, it's hard to draw skeletons, and this was my first attempt at drawing skeletons.
Anyway, its a Stalfos from Zelda 1. I tried to use the manual art as reference, but again, this was my first attempt at skeletons, so I kinda messed it up bigtime.DBoyWheeler
|
|
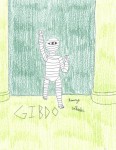
LoZ1--Gibdo.jpgLoZ1 Gibdo486 viewsGibdo the Mummy from Zelda 1.
I used the manual art (instead of the sprite) as reference, since the sprite made him look a wee bit chubby. He looks like he's disco dancing, huh?DBoyWheeler
|
|
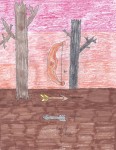
LoZ1--Bow_and_Arrows.jpgLoZ1 Bow and Arrows484 viewsThe bow and two arrows from Zelda 1.
I used the art from the manual as the reference for this.DBoyWheeler
|
|
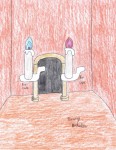
LoZ1--Blue_Candle_and_Red_Candle.jpgLoZ1 Candles482 viewsThe two candles from the first Zelda game.
The official art in the manual was my reference here.DBoyWheeler
|
|

Thanks_for_the_1_000_OvO_by_Red_Fan.pngA Thanks482 viewsThis was a thanks picture for getting 1,000 views in my Deviantart file.Red_Fan
|
|
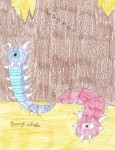
LoZ1--Lanmola.jpgLoZ1 Lanmola481 viewsThe centipede of doom from Zelda 1--in two colors!
I used the manual art as a reference... and drew it twice, since there are two colors of Lanmola.DBoyWheeler
|
|
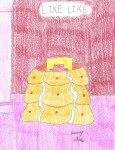
LoZ1--Like_Like.jpgLoZ1 Like Like479 viewsThe shield eating blob, Like Like, from Zelda 1.
I used the manual art as a reference... and since it likes to eat Magic Shields, I drew it enjoying a recent meal.DBoyWheeler
|
|
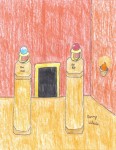
LoZ1--Blue_Ring_and_Red_Ring.jpgLoZ1 Rings478 viewsThe blue and red rings from Zelda 1.
I used the manual's artwork for reference.DBoyWheeler
|
|
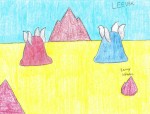
LoZ1--Leevers.jpgLoZ1 Leevers476 viewsThe two kinds of Leevers from Zelda 1.
I used the manual art as a reference, and drew two since there were two colors of Leever.DBoyWheeler
|
|
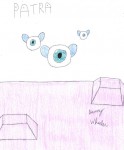
LoZ1--Patra.jpgLoZ1 Patra475 viewsThe flying eyeballs of doom from Zelda 1.
My reference was the manual art. And this was long before I learned how to do digital art, so it's not much to look at.DBoyWheeler
|
|
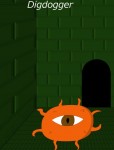
LoZ1--Digdogger.jpgLoZ1 Digdogger474 viewsThe giant urchin, Digdogger. Maybe it's in the middle of shrinking after hearing Link's whistle.
I used a mix of the main art in the manual, and the sprite, as reference here. And I had trouble getting the side wall to look right. Can't win 'em all, I suppose.DBoyWheeler
|
|

Random_Red_by_Red_Fan.swfRandom Red473 viewsThe first flash I made with a trial I had.Red_Fan
|
|
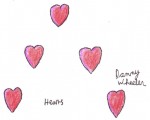
LoZ1--Hearts.jpgLoZ1 Hearts472 viewsThe hearts of Zelda 1. Take a wild guess!
The manual art was my reference when drawing this.DBoyWheeler
|
|
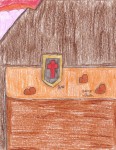
LoZ1--Shield.jpgLoZ1 Shield472 viewsThe shield of Zelda 1. The magical shield is just a larger shield.
Manual official artwork was the reference in drawing this.DBoyWheeler
|
|
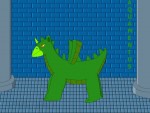
LoZ1--Aquamentus.jpgLoZ1 Aquamentus470 viewsThe unicorn dragon. As long as one has the correct sword and some other weapons, this dragon isn't too hard.
I used both some game sprites and the official manual art as reference.DBoyWheeler
|
|
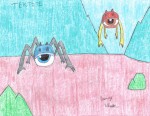
LoZ1--Tektites.jpgLoZ1 Tektites470 viewsThe two colors of Tektites from Zelda 1.
The manual art was used as reference. I also drew two Tektites, since Tektites come in two color variations.DBoyWheeler
|
|
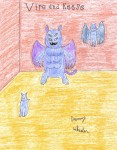
LoZ1--Vire_and_Keese.jpgLoZ1 Vire and Keese470 viewsVire and two Keeses from Zelda 1.
I used the manual art as reference.DBoyWheeler
|
|

Simplified_TPZelda.jpgPrincess Zelda470 viewsThis is a simplified version of Twilight Princess Zelda. There are not as many details, she is cuter...(more chibi, I guess), and her crown is different. myzeldamyrules
|
|
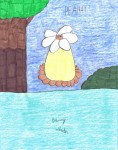
LoZ1--Peahat.jpgLoZ1 Peahat469 viewsThe Peahat from Zelda 1.
I tried to draw it as it looked in the manual art.DBoyWheeler
|
|
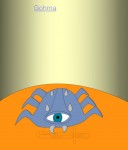
LoZ1--Gohma.jpgLoZ1 Gohma466 viewsThe giant spider crab of DOOM! Get that bow and arrow ready!
I used the official art in the manual as the reference here.DBoyWheeler
|
|
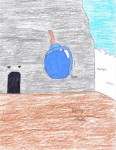
LoZ1--Bomb.jpgLoZ1 Bomb465 viewsThe bomb from Zelda 1. Which became more or less a staple in future Zelda games.
The official art in the manual was what I used as reference.DBoyWheeler
|
|
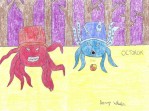
LoZ1--Octoroks.jpgLoZ1 Octoroks464 viewsThe two kinds of Octoroks from Zelda 1.
I used the manual art as reference, and drew two since the game had two colors for Octorok.DBoyWheeler
|
|
| 453 files on 19 page(s) |
 |
|
|
|
|
|
|
|
|
|
|
18 | |
|
 Register